
Apple pie sounds like the kind of baking project that requires a special pan, expensive apples, and the confidence of someone who owns a pastry brush. It does not. This Apple pie uses ordinary grocery-store ingredients, one bowl for the crust, and enough filling for eight slices. My last batch cost about $6.10 at Kroger in Columbus, or roughly 76 cents per serving. Price it out, then tell me it doesn't work.
The goal here is not a picture-perfect bakery pie. The goal is a warm dessert that tastes like apples, cinnamon, butter, and a crisp crust without turning your grocery budget upside down. If your edges look uneven, nobody eating a slice will care. Mine rarely look even, and the pie still disappears.
What you need and what it costs
For the crust, buy 2 1/2 cups all-purpose flour, 1 teaspoon salt, 1 tablespoon sugar, 1 cup cold butter or shortening, and 6 to 8 tablespoons ice water. A five-pound bag of store-brand flour might cost $2.50, salt is usually under $1, and a one-pound box of butter often runs $4 to $6. You will use only part of each package, so the ingredient cost in the pie is closer to $3.25 than the checkout total.
For the filling, use 6 medium apples, 1/2 cup sugar, 2 tablespoons flour, 1 teaspoon cinnamon, 1 tablespoon lemon juice, and 2 tablespoons butter. Gala, Fuji, Honeycrisp, Granny Smith, or a mixture will work. On sale, apples can cost $1.29 to $2.49 per pound. I used a mix of inexpensive Gala and one tart Granny Smith, spending about $2.35.
You also need a 9-inch pie plate. A glass plate from a thrift store is fine, and a basic disposable aluminum plate works if that is what you have. Do not buy vanilla extract or specialty spices just for this recipe. Apple pie does not need them to taste good.

Make the crust without making it complicated
Put the flour, salt, and sugar in a large bowl. Cut the cold butter into small pieces and add it. Use your fingertips, two butter knives, or a fork to work the butter into the flour until you see pieces ranging from pea-sized to flat flakes. A few larger butter pieces are helpful; they create flaky spots.
Add 6 tablespoons of ice water and stir with a fork. The dough will look shaggy, not smooth. Squeeze a little in your hand. If it holds together, stop adding water. If it falls apart like dry crumbs, add another tablespoon. Too much water makes a tough crust, so go slowly.
Divide the dough into two pieces, with one slightly larger for the bottom crust. Press each piece into a disk, wrap them in a reused plastic bag or container, and chill for 30 minutes. If you skip this rest, the crust may shrink in the oven. I have skipped it when hungry, and the result was edible but shaped more like a shallow bowl.
Build the filling and assemble the pie
Peel the apples if you want a smooth filling, or leave the skins on to save time. Remove the cores and slice the apples about 1/4 inch thick. Thin slices cook evenly. Very thick chunks can stay crunchy while the crust is already brown.
Put the apples in a bowl with sugar, flour, cinnamon, and lemon juice. Stir until the slices are coated. The flour thickens the juices as the pie bakes. Let the bowl sit for 10 minutes while you roll the dough.
Heat the oven to 425 degrees Fahrenheit. Lightly flour the counter and roll the larger dough disk into a circle a little wider than your pie plate. Fold it in half, lift it into the plate, and unfold it. Press it gently into the corners without stretching it. Stretching the dough is how you get a crust that pulls away from the sides.
Pour in the apples and scrape in the sugary liquid left in the bowl. Dot the top with butter. Roll out the second dough disk, place it over the apples, and pinch the edges together. Cut four small slits in the top. They let steam escape, so do not skip them.
Bake it so the bottom is not raw
Put the pie on a baking sheet before it goes into the oven. This catches bubbling filling and makes the pie easier to move. Bake at 425 degrees for 15 minutes, then lower the heat to 375 degrees and bake another 35 to 45 minutes.
Look for a golden-brown crust and filling that bubbles through the center vents, not only around the edges. If the rim browns quickly, cover just the rim with strips of foil. Do not cover the whole pie unless the top is getting too dark.
Let the Apple pie cool for at least two hours before slicing. I know that feels unreasonable. If you cut it after 20 minutes, the filling will run across the plate like apple soup. It will still taste good, but the slices will not hold together. Cooling gives the juices time to thicken.
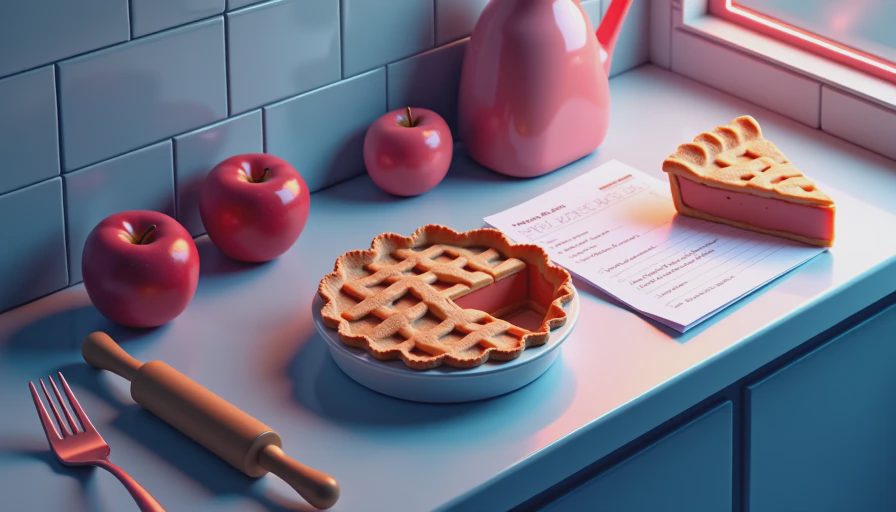
What went wrong with my first Apple pie
My first Apple pie had a beautiful top and a completely raw bottom crust. I had baked it on the upper rack, used thick apple pieces, and trusted the timer instead of looking for bubbling filling. Now I bake it on the lower-middle rack, slice the apples thinner, and use a metal baking sheet underneath. That fixed most of the problem.
If the filling is watery, the apples were probably especially juicy or the pie needed more baking time. Let it cool fully before deciding. If the crust is tough, the dough was likely overmixed or had too much water. If the apples are still firm, cover the top with foil and bake another 10 to 15 minutes at 375 degrees.
A cracked crust is not a disaster. Patch it with a small piece of dough and brush the seam with water. A broken top is still dessert. Nobody needs to see the pie before it reaches the table.
Cheap ways to serve and store it
You do not need ice cream for a good slice, although a $2 store-brand tub can stretch across several desserts. A spoonful of whipped topping, plain yogurt, or a little milk also works. My cheapest serving is Apple pie warmed in the microwave for 20 seconds with coffee beside it.
Store leftovers covered at room temperature for up to two days, or refrigerate them if your kitchen is warm. To reheat a slice, use a 350-degree oven for 10 minutes if you want the crust crisp again. The microwave is faster but makes the crust soft.
This recipe can also cover two smaller meals or a small gathering without buying another dessert. One pie gives eight modest slices, and the ingredient cost stays far below most bakery pies. If you have extra apples, slice them and freeze them for a future filling. Add a little lemon juice first to slow browning.
The most important part is starting before you feel ready. Apple pie is flour, fat, fruit, heat, and a little patience. Make the affordable version, learn what your oven does, and adjust the next batch. That is how cooking gets easier: not by waiting for perfect equipment, but by making dinner and dessert with what you can actually afford.